- Home
- About Us
- Products
- News
- Application
- Service
- Blog
- Contact Us
Leave Your Message
-
Phone
-
E-mail
-
Whatsapp
-
Whatsapp

Choosing the right Wire Electrical Connector is rarely a simple matter of matching wire size. A connector may look secure on a workbench, yet fail after months of vibration, heat, moisture, or repeated servicing. The details matter: terminal material, insulation rating, contact pressure, sealing method, and installation quality can all affect performance.
Robert S. Mroczkowski, author of the Electronic Connector Handbook, offers a useful engineering perspective: “A connector is a system, not merely a piece of hardware.” That idea should guide every selection. The wire, terminal, housing, tool, environment, and technician work together. Ignoring one part can weaken the entire connection.
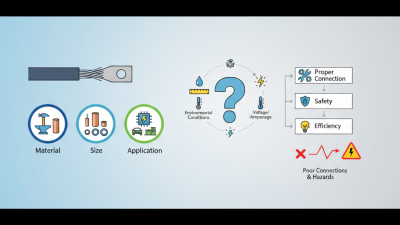
This guide presents ten practical tips for choosing a Wire Electrical Connector with greater confidence. It considers current capacity, voltage, conductor compatibility, temperature, ingress protection, vibration resistance, and maintenance needs. It also examines certifications and manufacturer documentation, because attractive packaging proves very little.
Small errors become expensive.
A connector that fits today may loosen tomorrow. A cheap crimp may pass an initial continuity test but develop heat at the contact point later. Even experienced installers can overlook pullout force or strand damage. That is where careful inspection becomes valuable. These recommendations are practical, but they are not infallible. Application conditions differ, and real testing should challenge every assumption before a connector enters critical service.
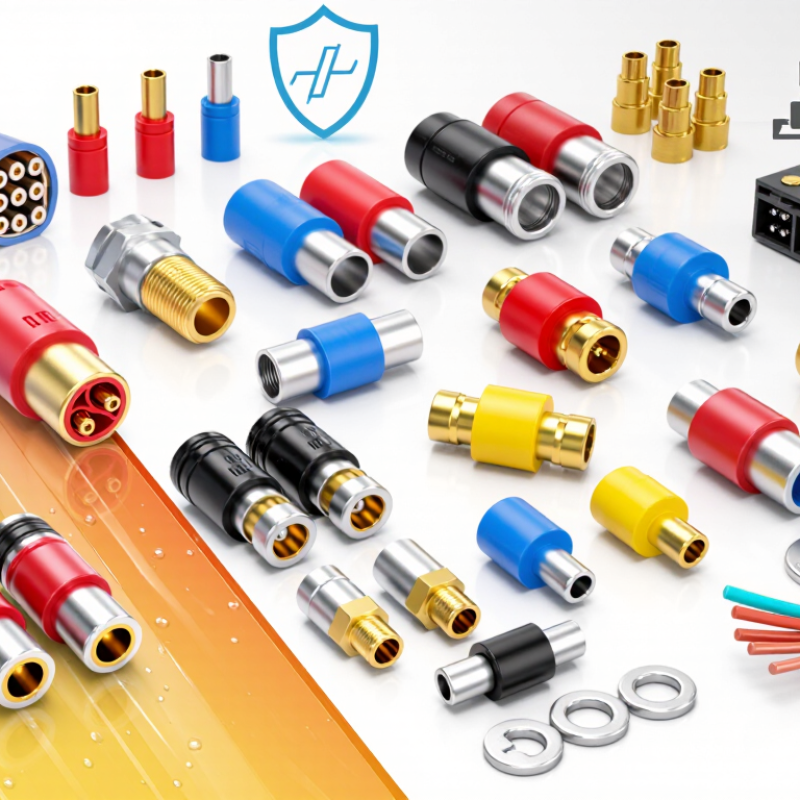
Before choosing a wire electrical connector, identify the connection’s electrical requirements. Record voltage, continuous current, peak current, wire material, conductor size, and circuit frequency. Check insulation temperature and expected ambient temperature too. These details prevent the connector from becoming the circuit’s weakest point. NFPA’s Home Structure Fires report covers 2016–2020. It found electrical distribution and lighting equipment in 32% of home structure fires. This equipment accounted for 43% of direct property damage.
Tip: Create a requirement card before selecting a connector. Include copper or aluminum conductors, solid or stranded construction, wire gauge, and the required connection method. A connector suitable for a small control signal may be unsafe on a motor circuit. I have seen selections based only on wire diameter. That shortcut misses current and heat.
Tip: Compare ratings under real conditions, not ideal conditions. IEC 60512 test methods address electrical, mechanical, and environmental performance. Check the connector’s voltage, current, temperature, and cycle ratings. Also inspect derating instructions for bundled wires or high ambient heat. A connector marked 20 A may not safely carry 20 A in every enclosure. Moisture, vibration, and limited ventilation can change the result. Recheck the calculation. Small assumptions often create large failures.
Use the following checklist to match a wire connector with the circuit’s electrical, mechanical, environmental, and installation requirements. Actual ratings must always be confirmed against the connector manufacturer’s technical documentation and applicable electrical codes.
| No. | Selection Dimension | What to Identify | Practical Selection Guidance | Important Safety Check |
|---|---|---|---|---|
| 1 | Circuit Voltage | Determine the circuit’s nominal voltage and the highest voltage that may occur during normal operation or switching. | Select a connector with a voltage rating equal to or higher than the circuit voltage. Common low-voltage control circuits may operate at 12 V DC, 24 V DC, or 48 V DC, while building circuits may use substantially higher AC voltages. | Do not use a connector solely because it fits physically. The insulation system and stated voltage rating must be suitable for the complete circuit. |
| 2 | Continuous Current | Identify the maximum continuous load current, including equipment operating at full rated load. | Choose a connector with a current rating above the calculated load current. For example, a 10 A load should not be connected with a connector rated only for 10 A when temperature, grouping, or duty-cycle derating applies. | Connector current ratings are often based on specific wire sizes, temperatures, and test conditions. Apply the required derating rather than relying on the headline rating. |
| 3 | Inrush and Peak Current | Check startup, motor-lock, capacitor-charging, heating, or other short-duration current peaks. | Motors, transformers, LED drivers, and capacitive power supplies can draw substantially more current at startup than during steady operation. Select a connector and contact system that can tolerate the expected peak and switching duty. | A connector that survives continuous current may still overheat, arc, or weld under repeated inrush or fault conditions. |
| 4 | Conductor Size and Material | Confirm the conductor cross-sectional area or wire gauge, solid or stranded construction, and conductor material. | Use a connector specifically approved for the wire range. Typical building-wire sizes may be expressed in AWG, while many industrial cables use square millimetres such as 0.75 mm², 1.5 mm², or 2.5 mm². | Aluminum and copper conductors may require different connector approvals and preparation methods. Never assume that a copper-only connector is suitable for aluminum wire. |
| 5 | Connection Method | Decide whether the application requires a screw terminal, spring clamp, crimp terminal, push-in connector, soldered joint, or another approved method. | Spring and push-in systems can speed installation; crimp systems can provide reliable results when the correct terminal and calibrated tool are used. Screw terminals require correct torque and may need periodic inspection in vibration-prone installations. | Follow the specified strip length, crimp profile, insertion depth, and tightening torque. Improper preparation can create high-resistance heating. |
| 6 | Temperature Rating | Evaluate ambient temperature, conductor temperature, nearby heat sources, enclosure temperature, and the connector’s operating-temperature range. | Use a connector whose temperature rating covers the application’s maximum expected temperature. Current capacity generally decreases as operating temperature rises. | Account for heat generated by the connector itself, cable bundling, sunlight, and enclosed spaces. Do not use a connector beyond its insulation or contact-temperature limit. |
| 7 | Environment and Ingress Protection | Identify exposure to water, dust, oil, chemicals, salt spray, condensation, ultraviolet light, and outdoor weather. | Choose an enclosure or connector system with an ingress-protection level appropriate to the installation. A sealed connection may be necessary in wet, dusty, or washdown environments. | The protection level applies only when the complete assembly, cable entry, seals, plugs, and installation method are compatible and correctly fitted. |
| 8 | Mechanical Stress and Vibration | Check for cable movement, vibration, pulling force, bending, impact, and repeated mating or unmating. | Use strain relief, locking features, vibration-resistant terminals, or flexible cable supports where required. Select a connector with a suitable mating-cycle rating for service and maintenance needs. | The connector should not carry unsupported cable weight. Provide strain relief so mechanical forces are not transferred to the electrical contact. |
| 9 | Grounding and Polarity | Determine whether the connection includes protective earth, functional ground, neutral, positive, negative, or signal-polarity requirements. | Use connectors with clearly identified terminals, keying, polarization, and an appropriate grounding path. Protective-earth connections should be mechanically secure and electrically continuous. | Do not rely on wire color alone. Verify conductor identification, polarity, and continuity with the power isolated before energizing the circuit. |
| 10 | Compliance and Installation Conditions | Identify the applicable electrical code, equipment standard, enclosure requirements, accessibility, maintenance procedure, and available installation space. | Confirm that the connector is approved for the intended application and conductor type. Consider clearance, creepage, tool access, serviceability, and whether the connection will be installed indoors, outdoors, or in a hazardous location. | Electrical work should be performed by a qualified person. De-energize, lock out, and verify the absence of voltage before installation or servicing. |